
Wholewheat Sourdough
You can use any type of sourdough starter in this recipe - liquid or dough. It's assisted by the 'porridge' of wholemeal flour prepared beforehand, through which an ideal food is made available for the sourdough yeasts to feed on.
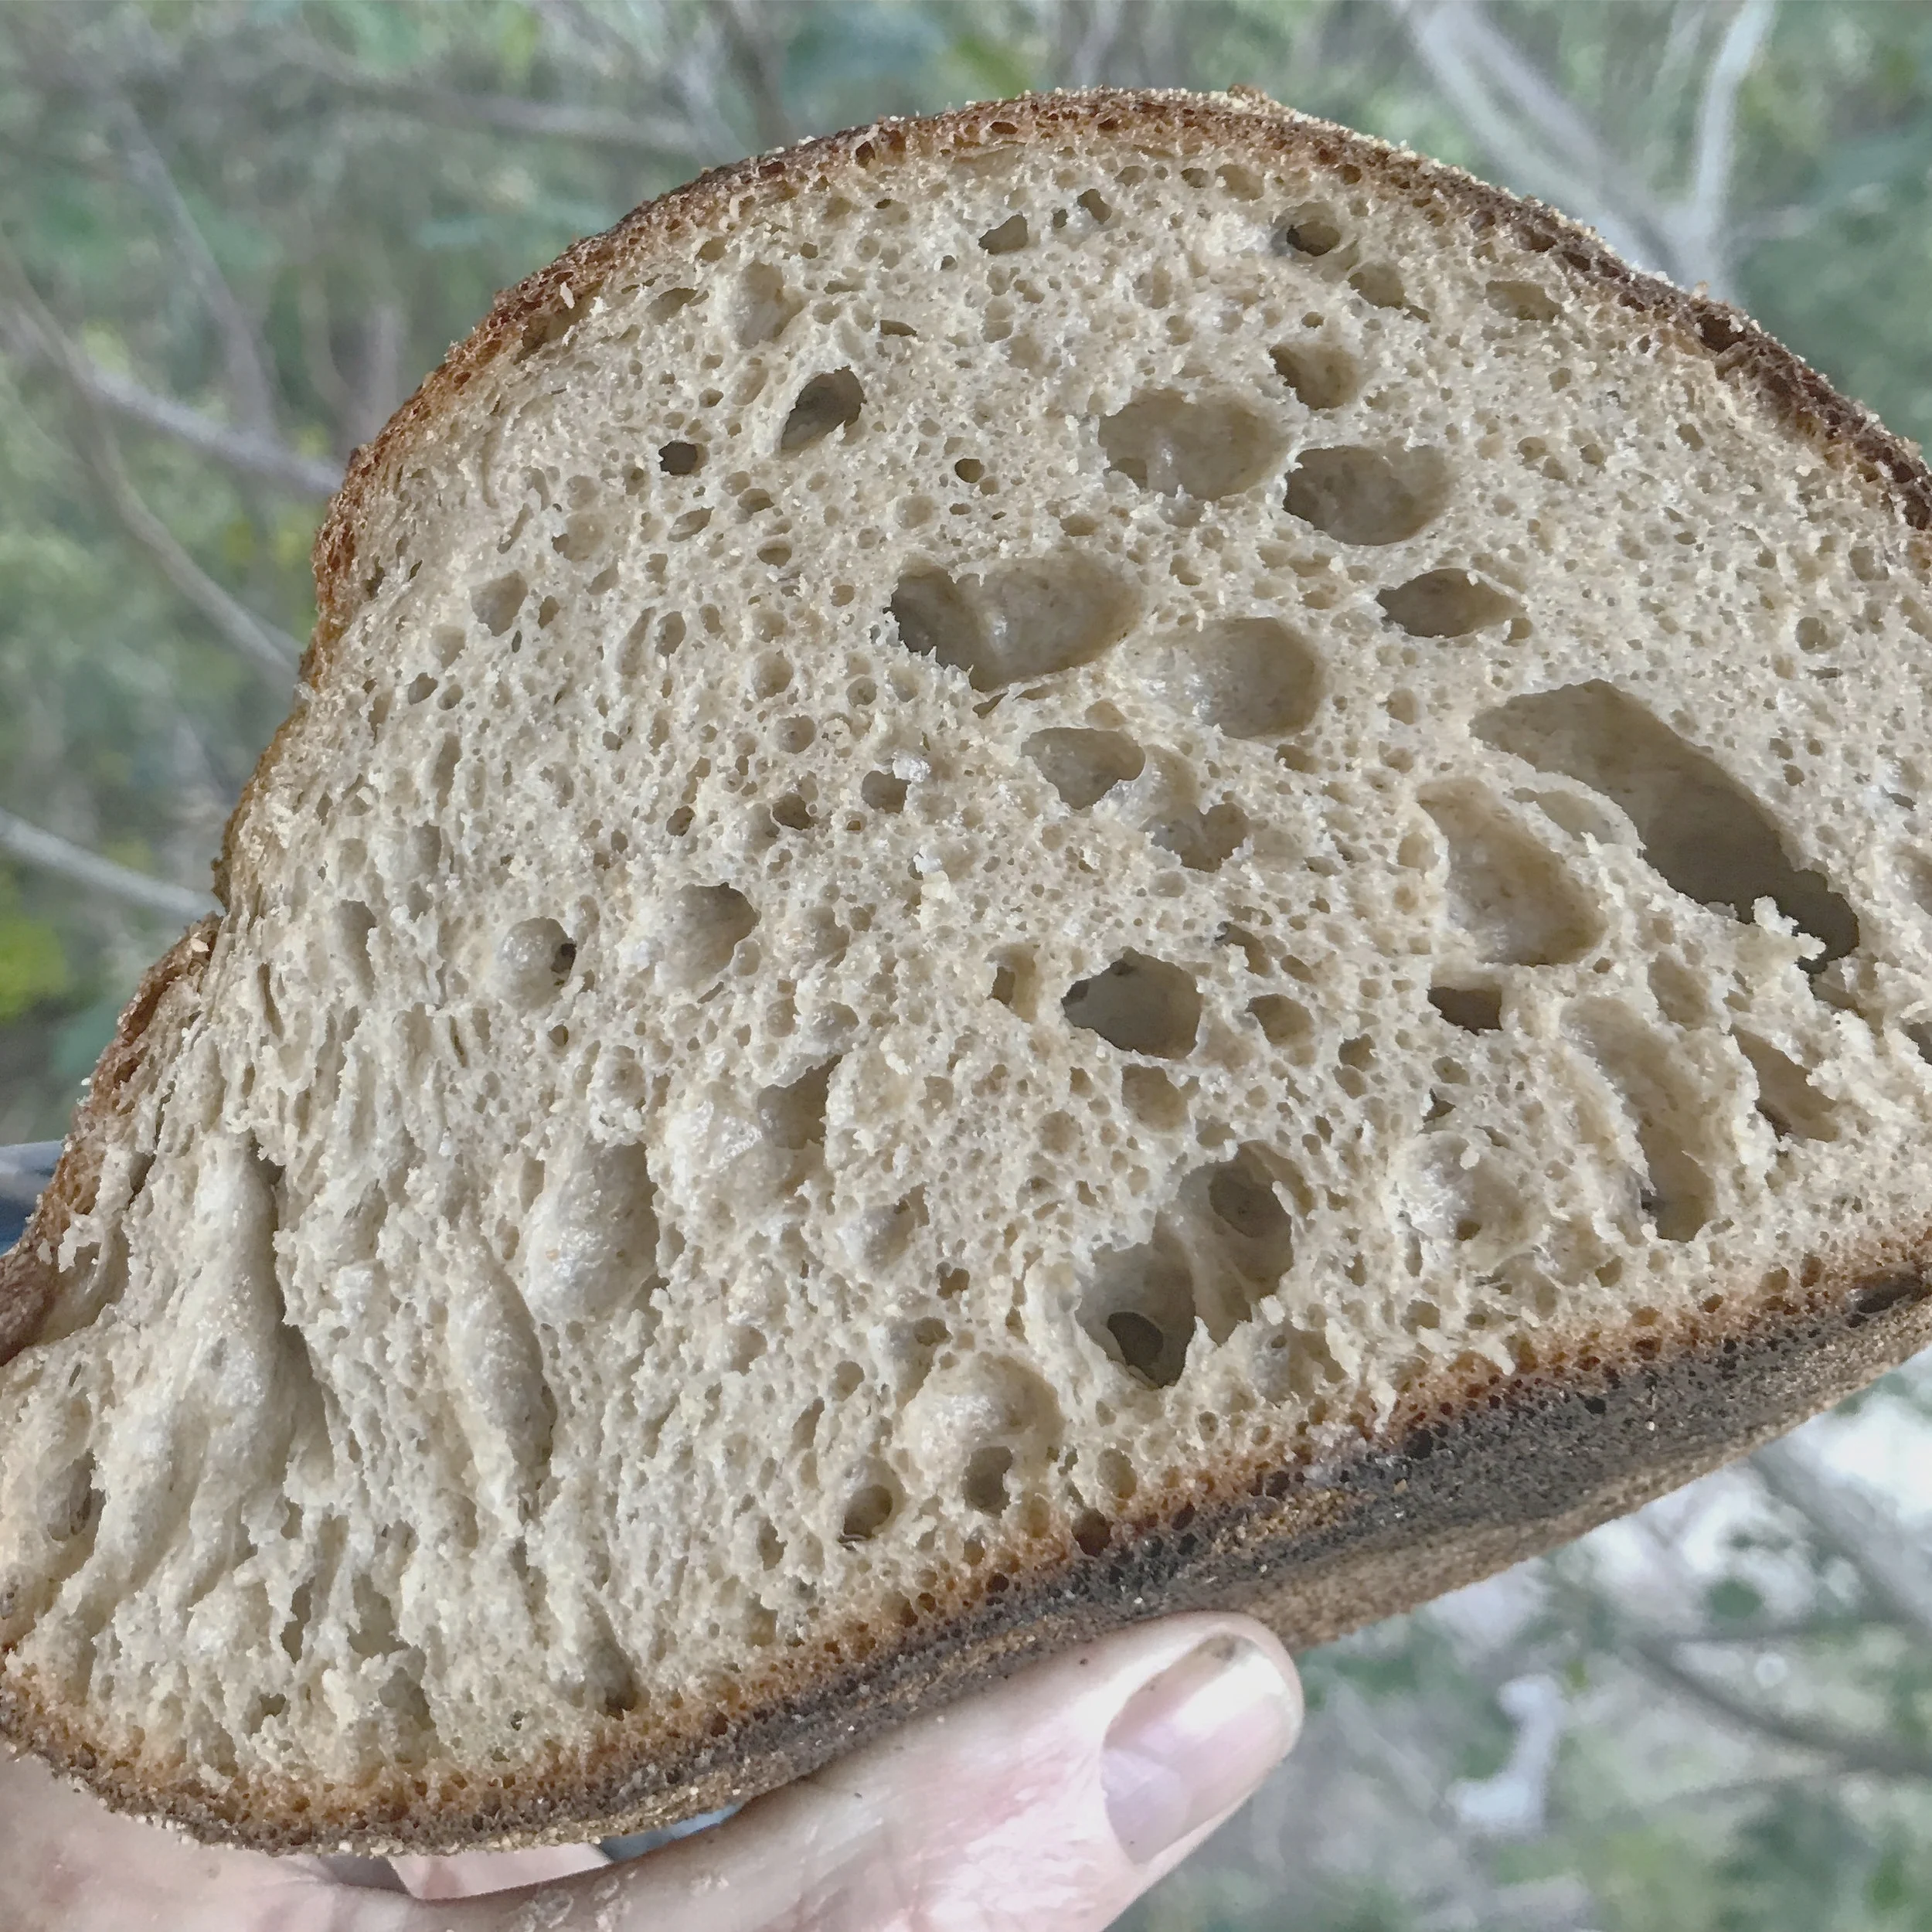
This recipe will make a lovely soft wholemeal sourdough. The Blanching technique (porridge) documented is great for wholemeal flours of any kind, because it gets the bran really well softened, really fast.
Wholewheat Sourdough Recipe
This recipe makes 2 fairly large loaves, about a kilo each. The technique of doing the dough in two stages is really good for stonemilled wholemeal flour, because it will allow the flour to become fully moistened and thus make it softer. It's known as the 'Porridge Method', because it helps to soften and fully hydrate the wholemeal flour. You will need to plan a day ahead.
Wholewheat Sourdough Stage One (Porridge)
You'll need:
500 grams of wholewheat stone milled wheat flour (if you can't get stone milled flour, you can substitute regular wholemeal flour)
500 mls of boiling water
Method:
Mix the water and the flour together in a plastic container with a loose fitting lid, using a firm whisk, a potato masher or a big fork. Loose, but not too lumpy is about right - you don't need to make a career out of it, as we like to say in bakeries. Place in the fridge while hot to cool it down overnight.
Stir it again when it comes out of the fridge.
Wholewheat sourdough Stage 2 (Dough)
You'll need:
500g of wholewheat flour (same as before)
200 - 400 ml of warm water (depending on the grade of flour you use - if it's higher protein, it'll hold more H2O).
Up to 300 grams of ripe liquid sourdough starter, or up to 100 grams of dough starter
20 - 30 grams of salt
Method:
Remove the porridge you made yesterday from the fridge - I use a large plastic box with a lid to keep it in, about 5 litres in capacity, I think. That way, the whole process can be done in one box. No need to dirty lots of stuff! Add most of the warm water and all the sourdough starter, and stir together in a circular motion, until combined and relatively smooth. You can use your fingers to help it break up.
(If you are using dough starter, it's a good idea to mix it through the water first so it breaks up properly before going into the dough).
Now sift in flour gradually, continuing to stir as you go. Right here, you can see the advantages of using one hand to stir and knead - if you do this, your other hand will be free of dough and not make a mess all over your sifter!
When it starts to become lumpy, combine roughly and begin kneading. Work until combined. You may find that the dough becomes quite tight - if it does, just add some more of the water, a little splash at a time. Don't worry about lumps or shagginess. Leave the rough dough for an hour or so with a loose fitting lid or moist cloth to cover.
Delayed Salt (autolyse):
Spray or wipe the bulk dough with water and sprinkle the salt over the remaining dough, working it through with your hands, kneading until you can't feel it anymore. You will find that the dough is now quite smooth and easy to knead - this is the way that the delayed salt method works.
Leave the dough in the container or bowl until it has roughly doubled in size. In warm weather, this might take a few hours. In cooler weather, much longer. You can also refrigerate overnight - though it’s a good idea to let the dough get going for an hour or so beforehand.
Divide dough into two even (1 kg) lumps, and round them off. Put the seam at the bottom of the balls, and create a smooth skin over your dough balls. This is to trap gas. Return them to your container
I like to use a food grade clear plastic box, with a capacity of about 5 litres for this - it's got a flat bottom, so the two balls don't fall together, and usually these have a nice tight lid to stop the balls of dough from crusting. They are large enough to intermediate (middle) proof them comfortably, as the balls of dough will ‘re-gas’.
Wait until these dough balls have filled out nicely in the box. In warm weather, with warm dough, this could take as little as an hour. In cool weather, with cool dough, the process could take many hours. You can even refrigerate the balls of dough and take them to their final proof a whole day later. By poking them with your finger you should see that they offer very little resistance. That’s one indicator of ripeness. There are others, and to find out what they are, you will have to come to a Sourdough 102 Workshop.
Now lightly oil two medium sized bread tins, and shape your balls into cylinders, using the flats of your hands. Spray with water, and dust with flour or semolina if you have it.
Slash diagonally three times, and place in the tins.
Tinned and ready for final proofing. I usually place them in an upside down plastic box to proof.
Final Proof done, and ready to bake.
Allow the dough to fill the tins, and then bake.
Like the idea of learning all this with a group of like minded home bakers? Our School of Sourdough workshops are held each month in the Lower Hunter Valley of NSW. Follow the link to find out more.
The Sourdough 102 Workshop is all about working with wholegrain flours. If you would like to get some practical knowledge on working with the technique above, some ‘tricks of the trade’, as well as lots of ‘hands on’ practice, these workshops are held only four times per year. Make sure you book early, as they do fill up. Check out the dates for the next ones by using the drop down box on the link.
I offer my ‘almost 30’ year old Desem Sourdough Starter (Dough Starter) for sale, along with a free printed copy of my ‘Sourdough Fermentation Mini Guide’ and complete instructions. I can freight anywhere in Australia. Overseas orders can’t be accepted, due to various rules. Sorry.